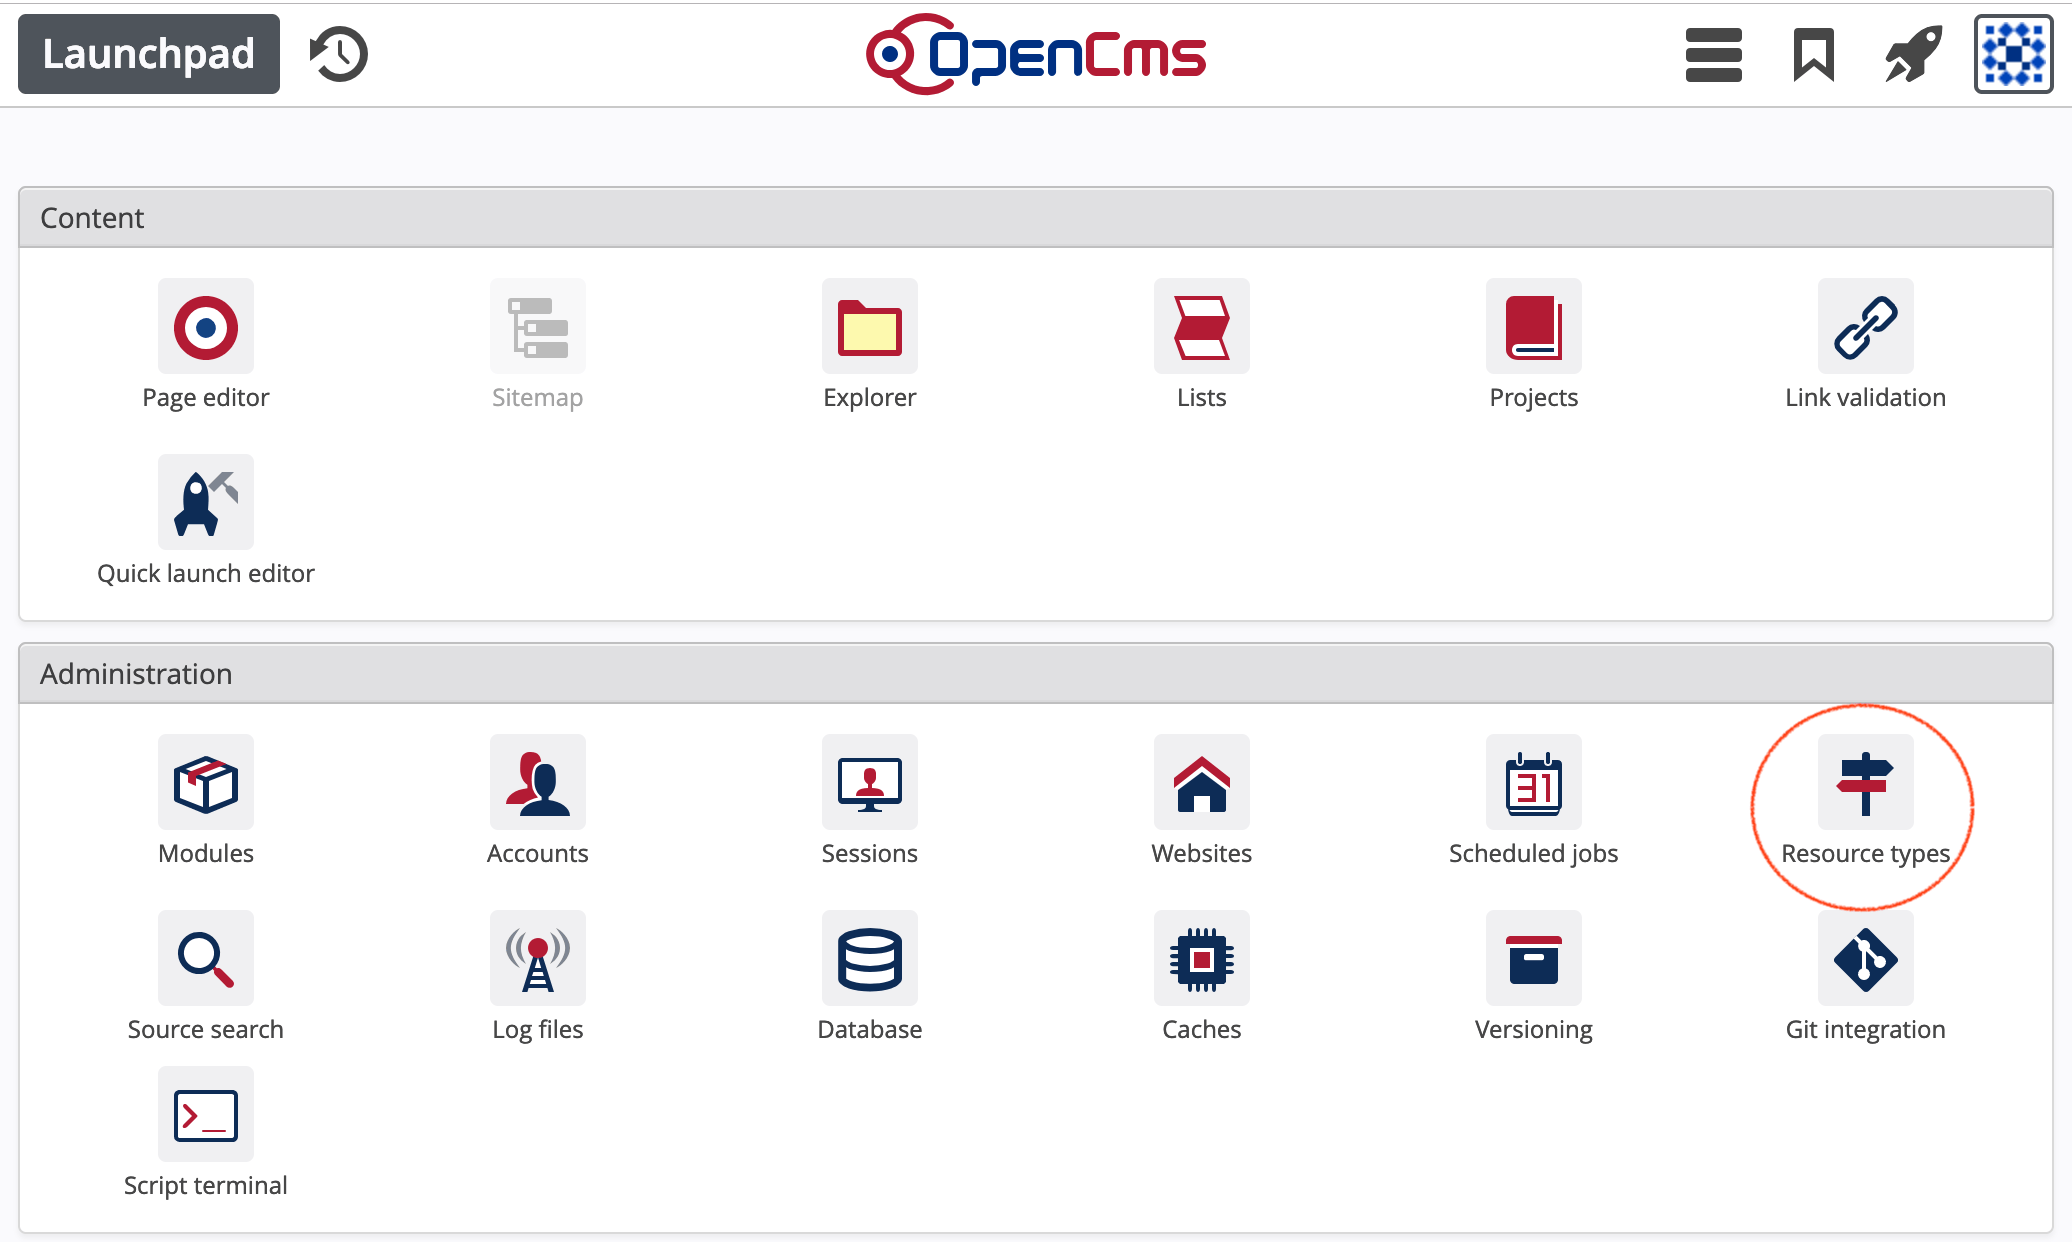
To open the resource types app, go to the launchpad and click on the app Resource types.
OpenCms is a typed content management system. Each resource in the VFS has a specific type and in particular each XML content has a specific type and a configuration that determines how the type and contents of it are displayed in apps, e.g., in the page editor.
With the resource types app you can add, edit or move resource types. Moreover, you get easy access to all resources of a type present in your current installation and to the schema file for XML contents.
Once opened, the app shows the list of all resource types available on the system. The list holds the following information:
Columns of the resource types list
- Icon
The icon that is shown for the type and for contents of the type in the explorer, the add wizard and other places.
- Display name
The localized name of the type (in the user's workplace locale), as for example appears in the add wizard or in the information dialog for resources of the type.
- Name
The programatical name of the resource type used internally by OpenCms and as stored, e.g., in the
typeindex field in Solr indexes. Hence, if you want to search only for resources of the type add a filter queryfq=type:{type name}to your Solr query. The name must be unique for your installation.- ID
Id of the resource type. It is used internally by OpenCms. The id must be unique for your installation.
- Module
The definition of a resource type is part of a module. Here the module, the type is defined in is listed. If no module is displayed, the type belongs to the OpenCms core.
To add a new resource type, click the add wizard in the toolbar (![]() ). A dialog pops up where you can configure the new type.
). A dialog pops up where you can configure the new type.
In a first step, you choose the module the type should be part of. Therefore, you get a list of the currently installed modules. Select the one, you want to add the resource type to and click "OK".
Next, a dialog is shown where you can configure the type:

A dialog appears where you can configure the new resource type. The following properties can be set:
Fields of the "Add resource type" dialog
- Name
The unique name of the resource type. The resource type is made available in OpenCms under that name. If a resource type with the given name already exists in the OpenCms installation, you get an error message and are asked to change the name.
- ID
A natural number that is used as unique id of the resource type. If a resource with the same id already exists in the OpenCms installation, you get an error message and are asked to change the id. You should use ids with at least 5 digest to not get into conflicts with OpenCms internal ids. Moreover, it is recommended to pre-define an id range for your project/template.
- XPath element name
The name of the content type used in the XML Schema definition. Before OpenCms 11, the name had to be unique in your OpenCms installation. Since OpenCms it does not have to be unique.
- Display name
The localized resource type name that is used for example in the “Add content”-dialog in the page editor (see here). The given name is set as the value for the language specified by your current workplace locale (or in the locale of te bundle file specified under "Message bundle") at keys
type.my-type.name(e.g., used as name of the type in the "Add wizard")type.my-type.title(used as title in add dialogs)type.my-type.formatter(used as display name of the automatically generated formatter) in the module’s bundle specified under "Message bundle" in the dialog.- Description
The localized resource type description that is used for example in the “Add content”-dialog in the page editor (see here). It is set as the value for the language specified by your current workplace locale at the key
type.my-type.descriptionin the module’s bundle specified under "Message bundle" in the dialog.- Message bundle
The message bundle where the values for the keys for display name, description, etc. are stored to. This should be workplace bundles. See here for more information on bundles. Typically, the default value has not to be changed.
- Module config
The resource type is configured in the module configuration provided here. Typically, the default values has not to be changed.
- Parent folder of schema
The folder where a dummy schema definition (XSD) for the type is added to. Typically, the default values has not to be changed.
- Parent folder of formatter
The folder where a dummy formatter and formatter configuration for the type is added to. Typically, the default values has not to be changed.
If you click “Ok” the content type is created and configured as a resource type. In particular, the following actions are performed, where <name> is a placeholder for the resource type’s name:
- In the provided "Parent folder of schema", by default the
schemas/subfolder of the chosen module, the file<name>.xsdis created. The file defines a sample content type. - In the provided "Parent folder of formatter", by default the
formatters/subfolder of the current module, the file<name>.jspis created. The file defines a sample formatter JSP for the content type.
Furthermore, a file<name>.xmlis created. It configures the created formatter JSP to be used for the created content type in any container. - In the message bundle file provided as "Message bundle" the keys
type.<name>.nametype.<name>.titletype.<name>.descriptiontype.<name>.formatter
type.<name>.description, the first for the three other keys). - The content type is added as resource type to the module configuration file provided as "Module config".
- The content type is configured as resource and explorer type in the file
opencms-modules.xml, located in the RFS in the folderWEB-INF/config/. - All files created in the VFS are added as module resources.
- All changes made in the VFS get published.
The newly available resource type can now be added to any container via drag & drop as any resource type available before. To personalize the created resource type you should:
- Alter the schema (
<name>.xsd). - Adjust the formatter and the formatter config (
<name>.jspand<name>.xml). - Configure the icons for the resource type with your own icons. Therefor see the section about further resource type configuration.
- Optionally, create and configure additional formatters.
- Optionally, add values for further languages to the respective message bundle files.
Once you've created a resource type, you can edit it's configuration. Here you can edit some options that where not present on adding the type. In particular, you could change the type's icon and get more control on the localizations.
Note: Changes are written to the opencms-modules.xml. Contents in the system are not changed. In particular you might break things when changing the type name, id or schema. To make you aware of this, you need to check the warning message at the top of the dialog before saving (pressing "OK") is allowed.
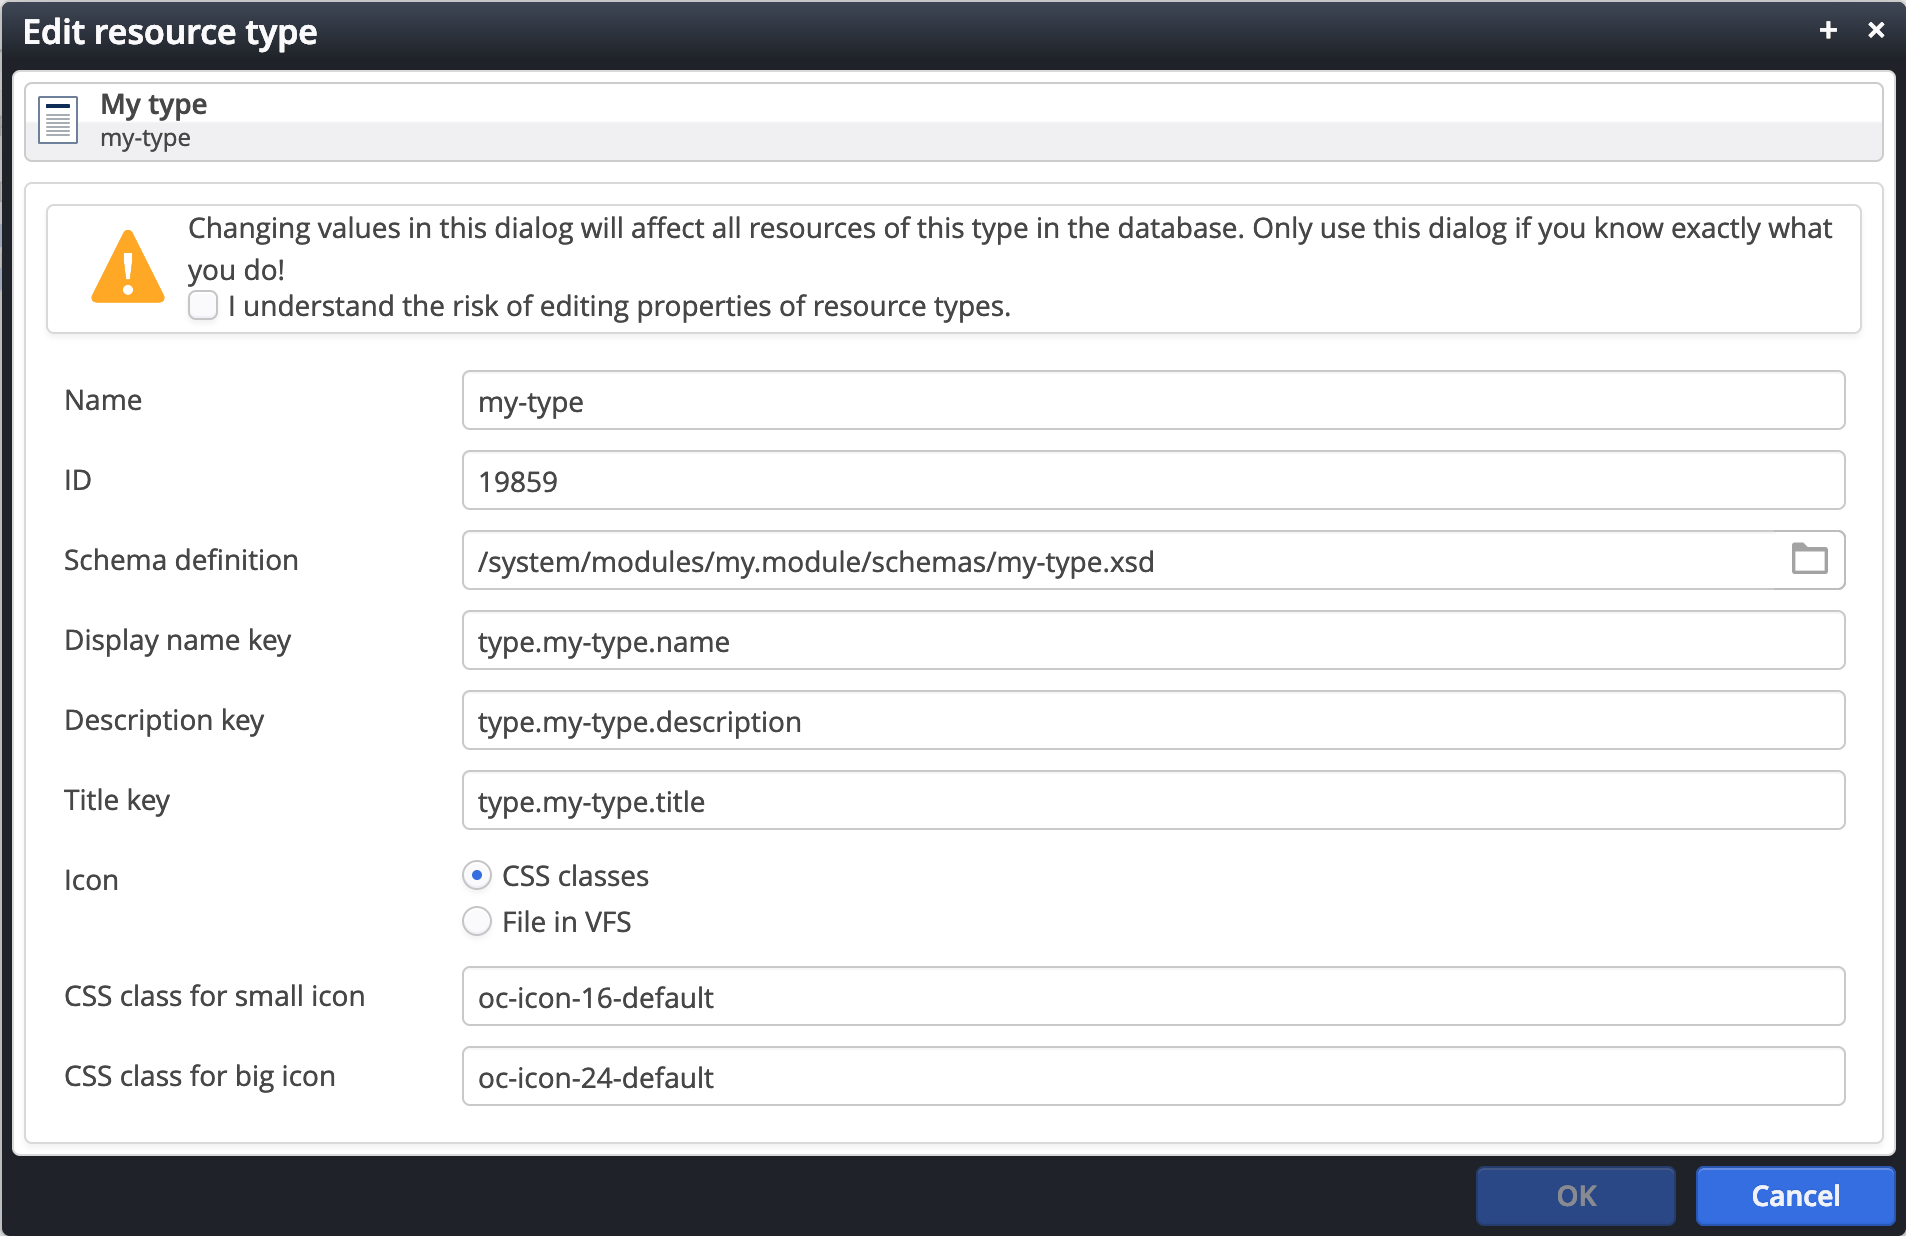
For each resource type an icon of size 16x16 pixels and an icon of size 24x24 pixels is needed. Traditionally, you place the icons <name>.png and <name>_big.png in the folder /system/workplace/resources/filetypes/. Or re-use icons already there. To do so, choose "Icon" as "File in VFS" and put the filenames in respective input fields. Do not forget to add the icon files to your module's resources if you do so.
Since OpenCms 11, icons can be provided via image sprites, i.e., you have two sprites with a set of SVG icons, one containing all your icons for size 16x16, one containing the icons in size 24x24, and the corresponding CSS file with classes for each of the icons. If you use this mechanism, add the CSS classes that will display the icons in the dialog.
Before you create your own icon set, you may think about using the default icons shipped with OpenCms. Here's an overview on the present icons and the classes for 24px. Of course the icons exist in the 16px version as well.
If you created your own icons in a sprite, you need to:
- create a sprite for 16px
- create a sprite for 24px
- create a
my-workplace.cssfile referencing the icons (and including the sprite files) in the sprite via CSS classes, e.g.my-icon-16-xxxandmy-icon-24-xxx.
Put all the three files you created to a folder in your module - we suggest a workplace-css subfolder of the module folder and export that folder to subfolder of resources/ that is specific for your module.
The OpenCms demo will add it's own icons in the way described above. You may check the configuration for it to get a concrete example.
The resource types app typically suffices for the configuration of resource types. OpenCms provides some more configuration options for resource types that you have to put yourself in the manifest of your module or the opencms-modules.xml. To get some insight on the additional options, look at the DTD for the opencms-modules.xml - in particular look for resourcetypes and explorertypes and the sub-nodes.