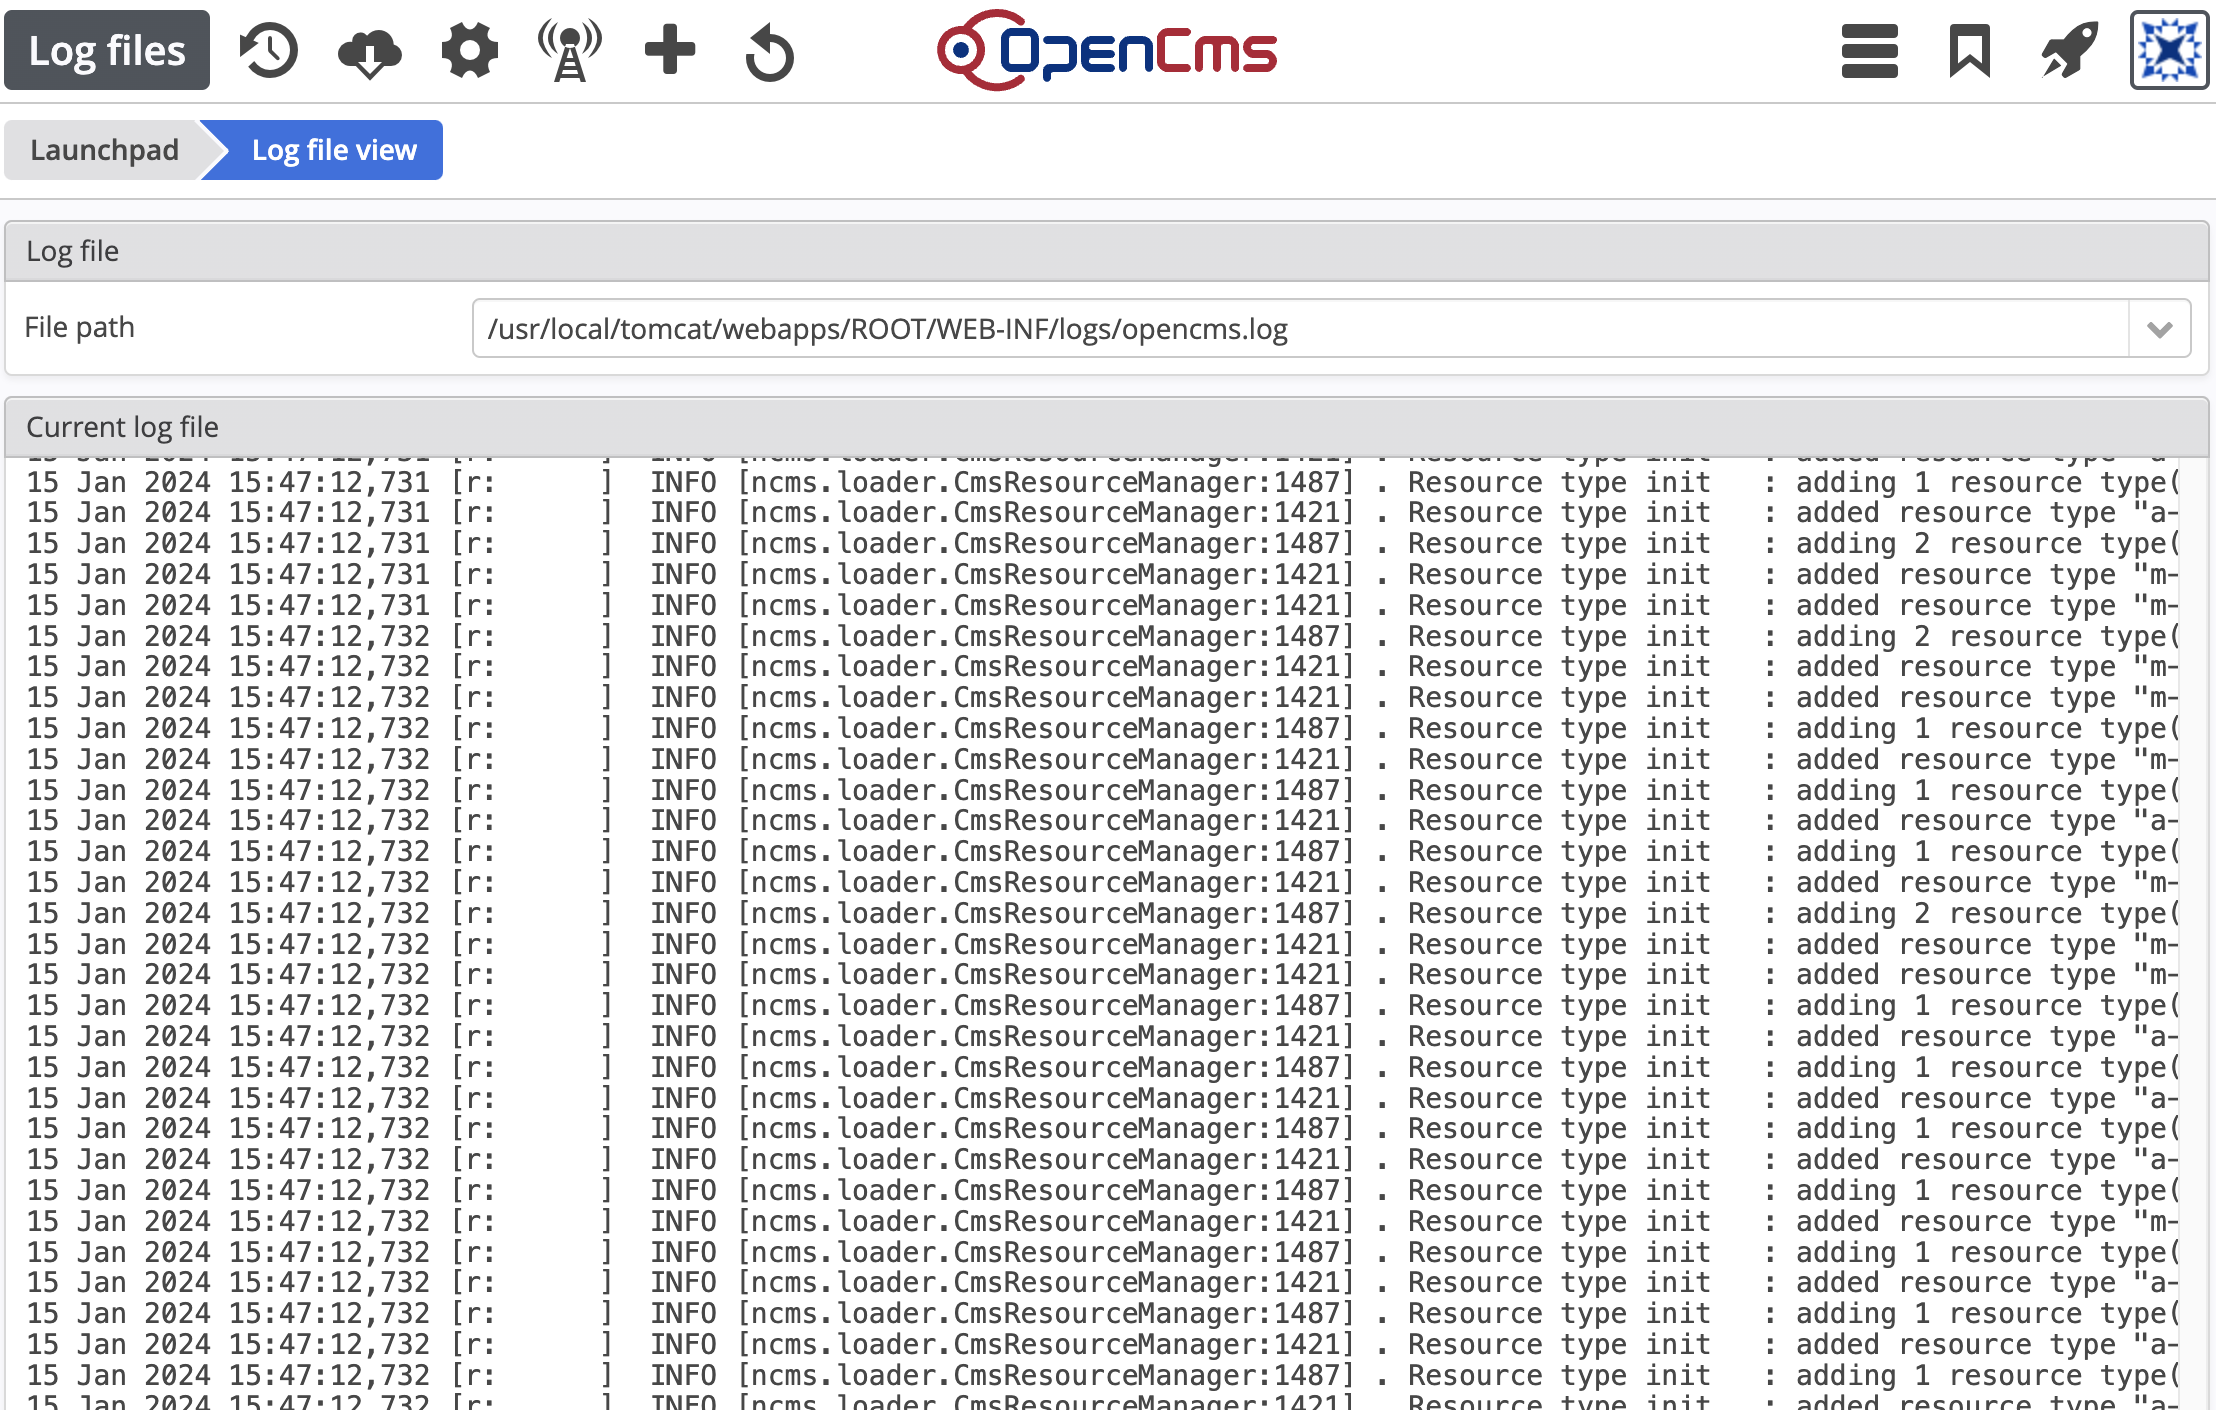
The app can be opened via the Launchpad. It is accessible for workplace users with the role Workplace manager.

The user interface of the log files app consists of two widgets:
- at the top, there is a select box to select a log file
- at the bottom, there is a file viewer where the last lines of the currently selected log file are displayed
In addition, there is a number of toolbar options available explained in more detail below.

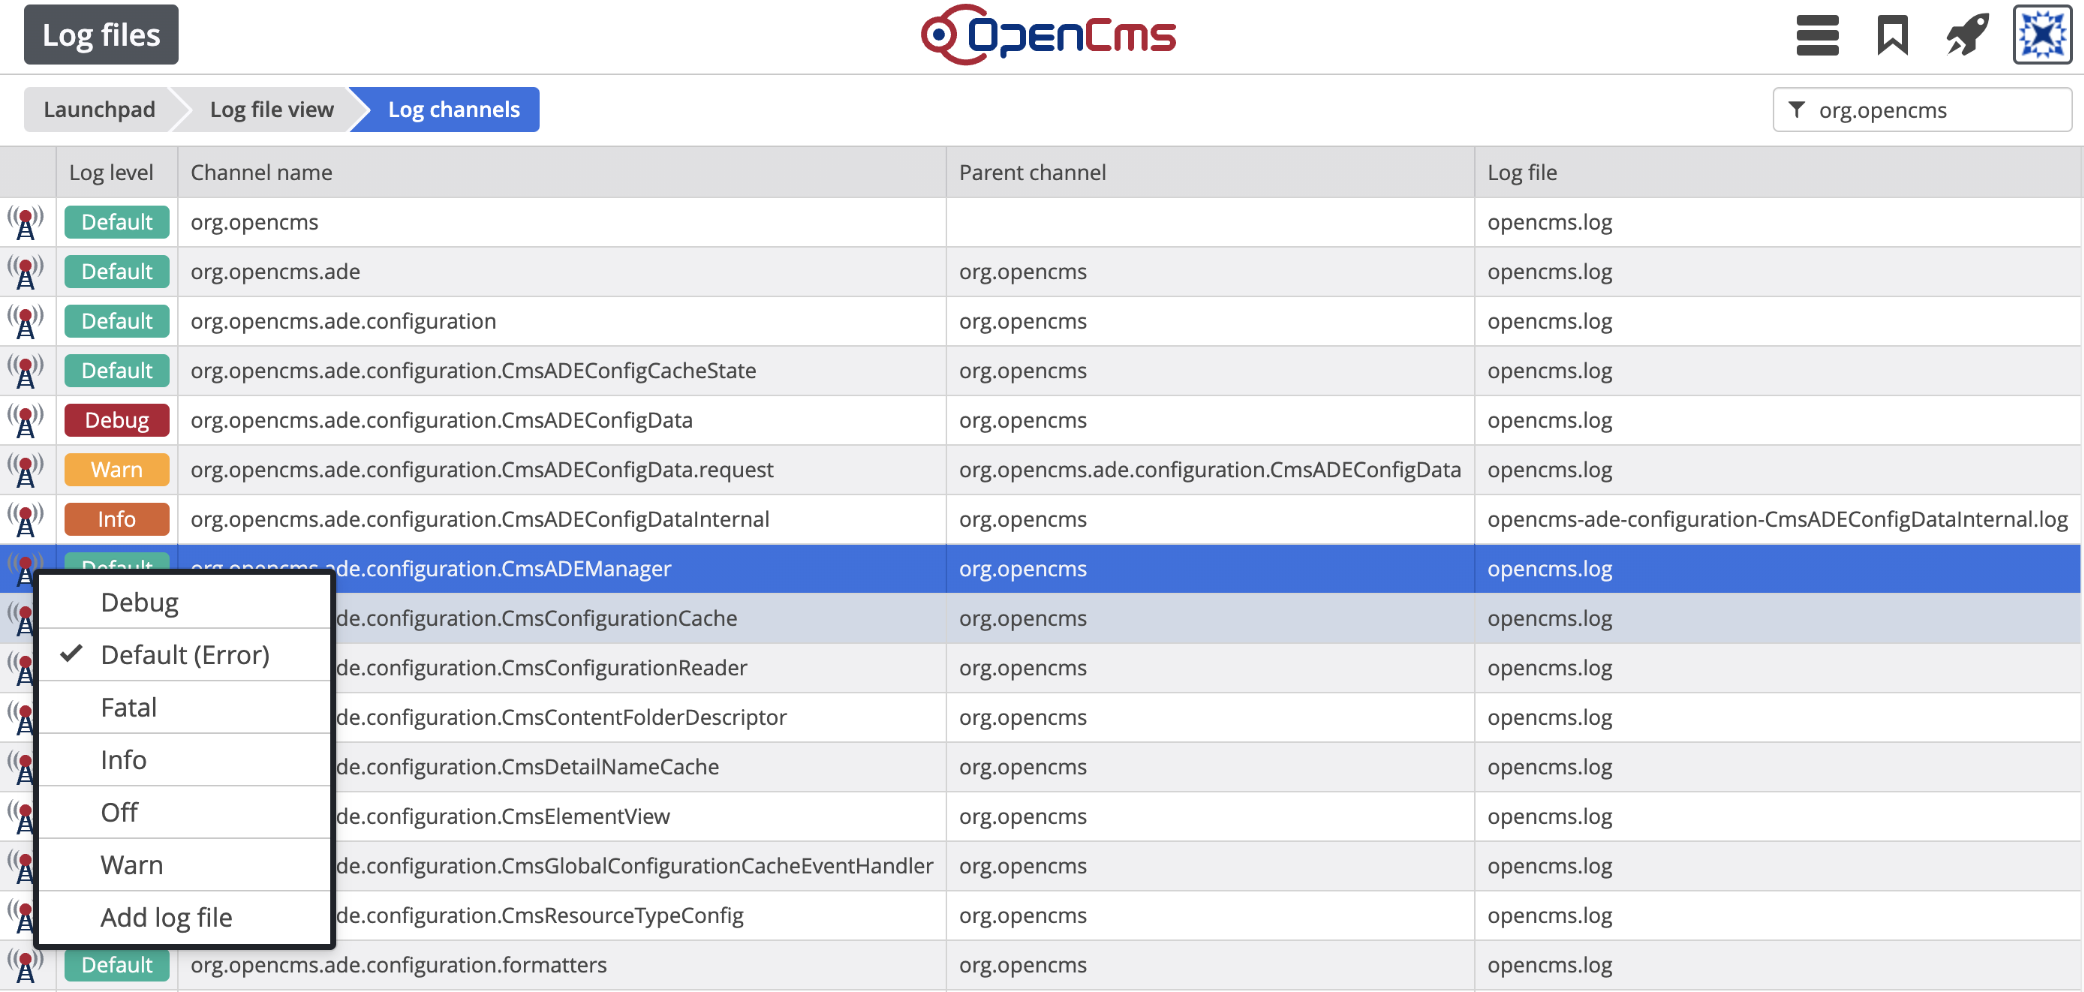
When clicking on the log channels icon in the toolbar, the log channels view opens showing a table with all log channel settings information. The table has the following columns:
Log level. One of Debug, Error, Fatal, Info, Off, Warn.
Channel name. The name is either the Java class or the Java package writing the log output.
Parent channel. The name of the parent channel.
Log file. The name of the log file the output is written to.
In order to change the log level for an individual Java class or Java package, use the context menu options. The context menu opens when clicking on the log channels icon of a table row.
The log output of a Java class or Java package can be written to a separate log file. Use the add log file context menu option to get a separate log file.
Persistent log channels can be configured in the {webapp home}/WEB-INF/classes/log4j2.xml configuration file.
For example, add a rolling file configuration and a logger configuration for an individual scheduled job class in the following way:
<Appenders> <RollingFilename="MyScheduledJob" fileName="${sys:opencms.logfolder}my-scheduled-job.log" filePattern="${sys:opencms.logfolder}my-scheduled-job.%i.log.gz"> <PatternLayoutpattern="%d{DATE} %5p [%30.30C:%4L] %m%n" /> <Policies> <SizeBasedTriggeringPolicysize="5 MB"/> </Policies> <DefaultRolloverStrategymax="10"/> </RollingFile></Appenders><Loggers> <Logger level="info" name="my.jobs" additivity="false"> <AppenderRefref="MyScheduledJob"/> </Logger></Loggers>