The upload dialog can be accessed from various places in the workplace.
The upload dialog can be used to upload files from the local computer to the VFS. File metadata can be specified during the upload process.
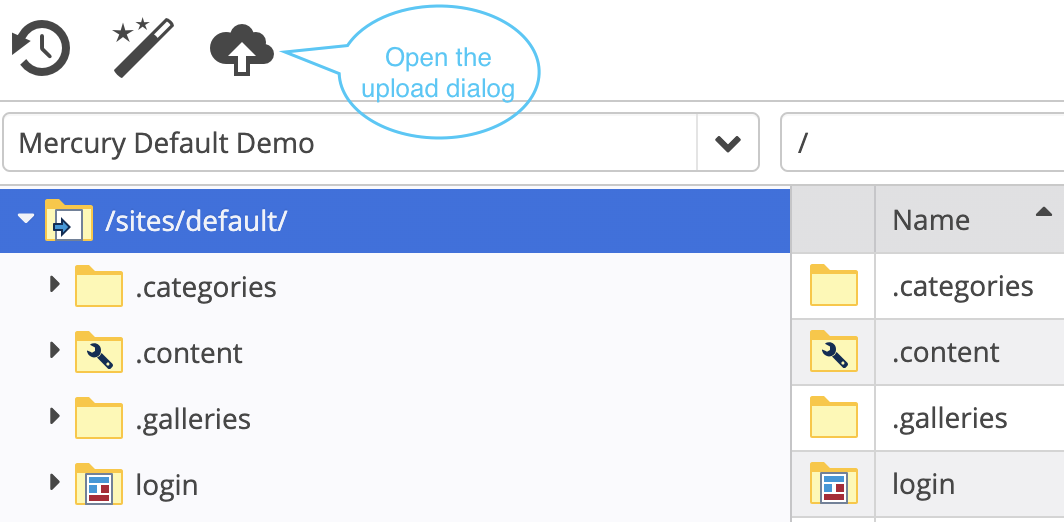
In the explorer's main toolbar.
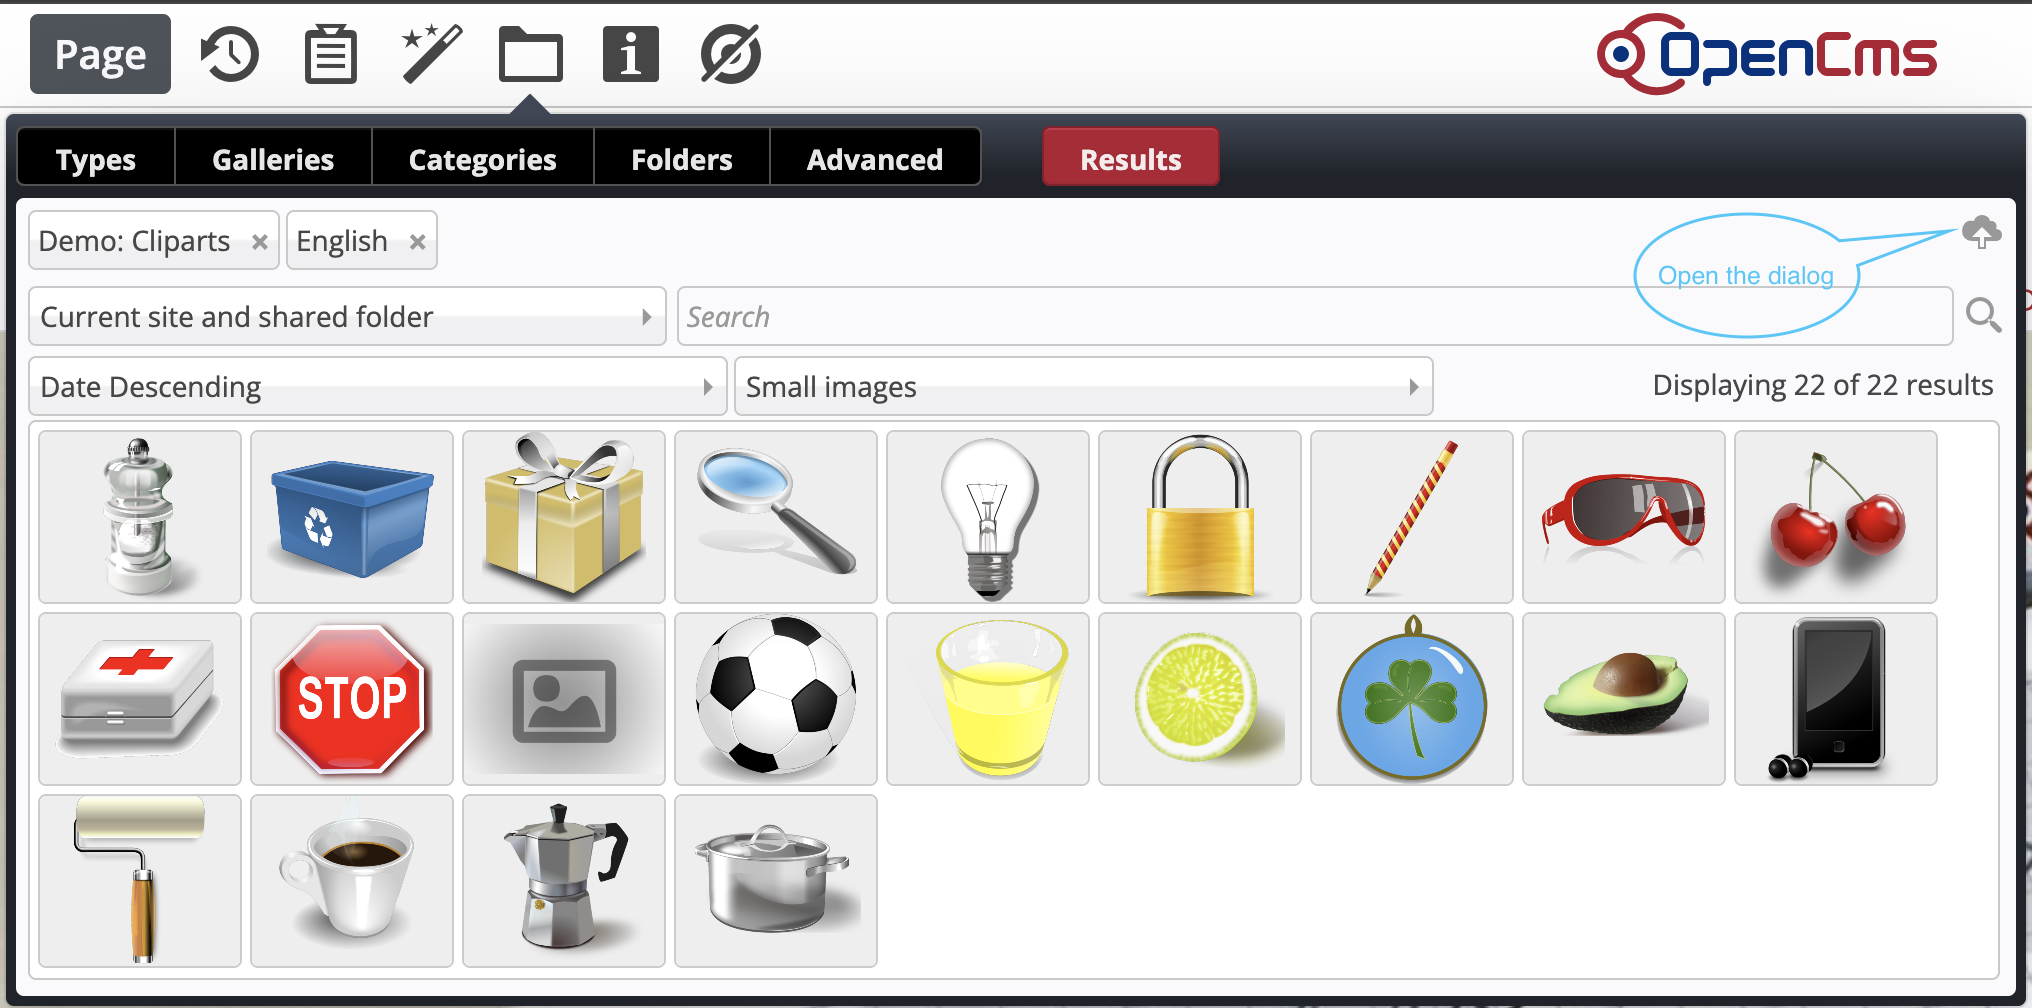
From the galleries.
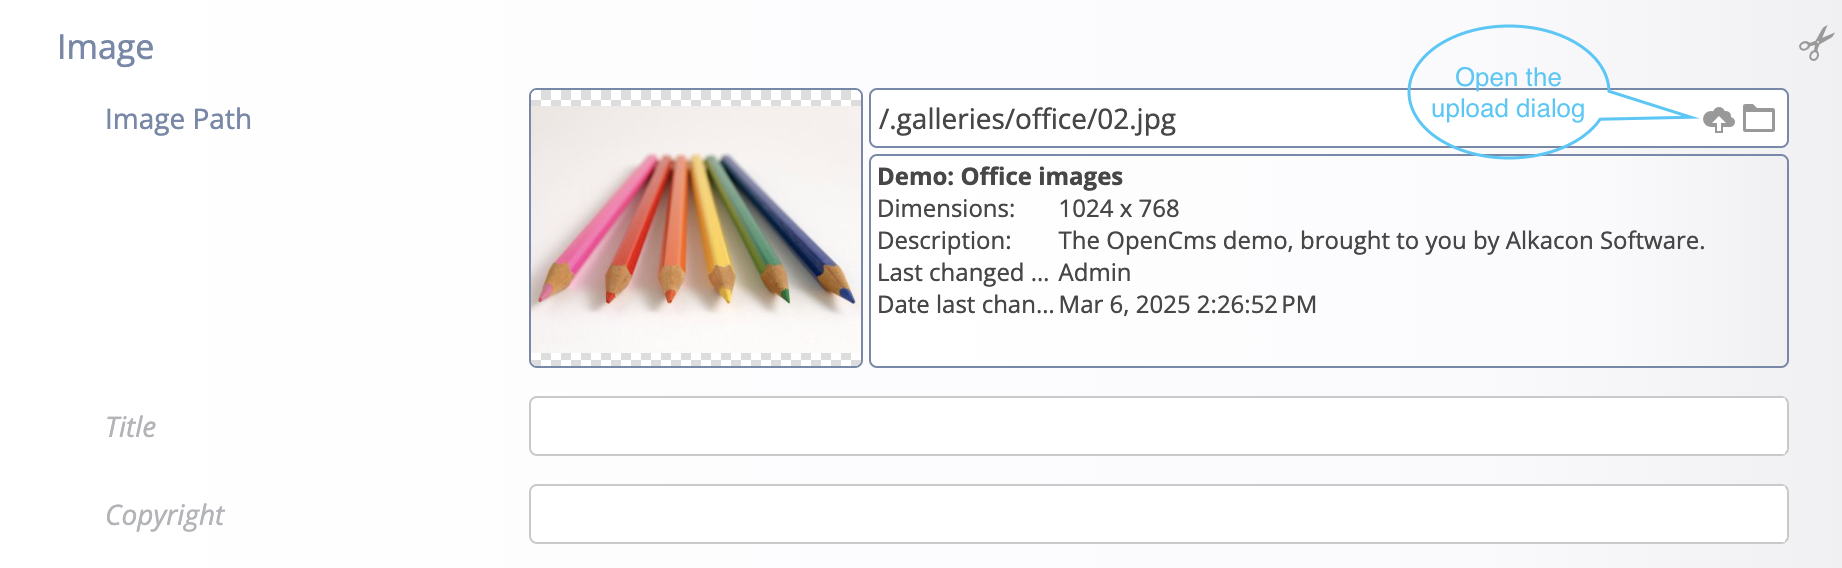
When linking files in the form editor.
The upload dialog can be recognized by the cloud symbol ![]() .
.
Individual files or several files can be uploaded together. The upload takes place in several steps.
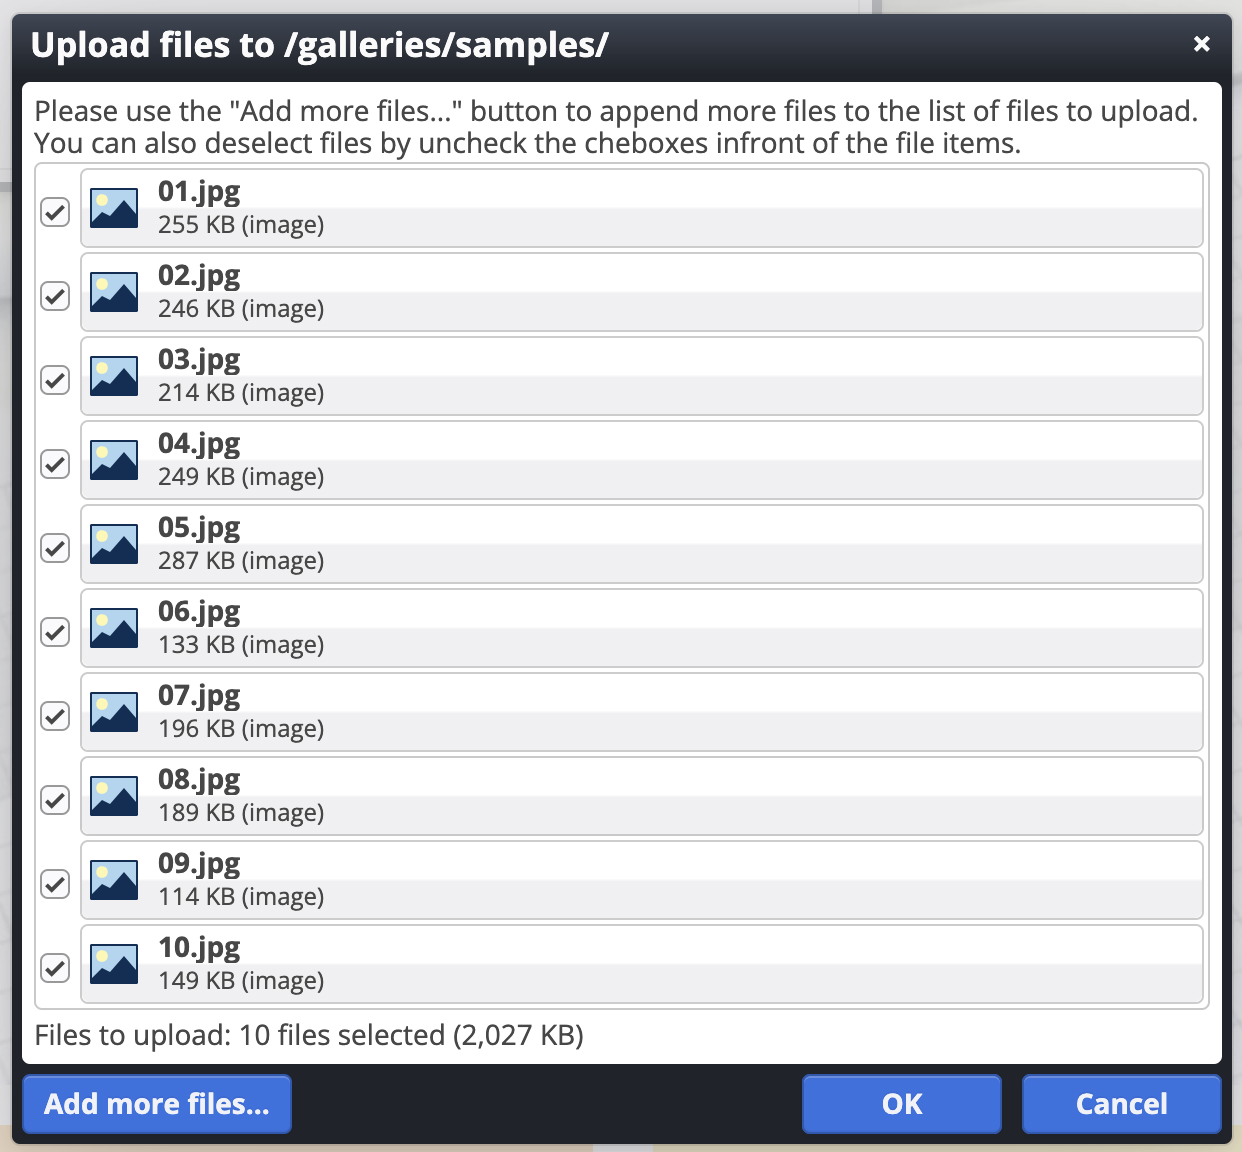
Once you have selected files to upload, they appear in an overview list.
Additional files can be added here or individual files can be deselected.
The actual upload is only initiated when the OK button is clicked.
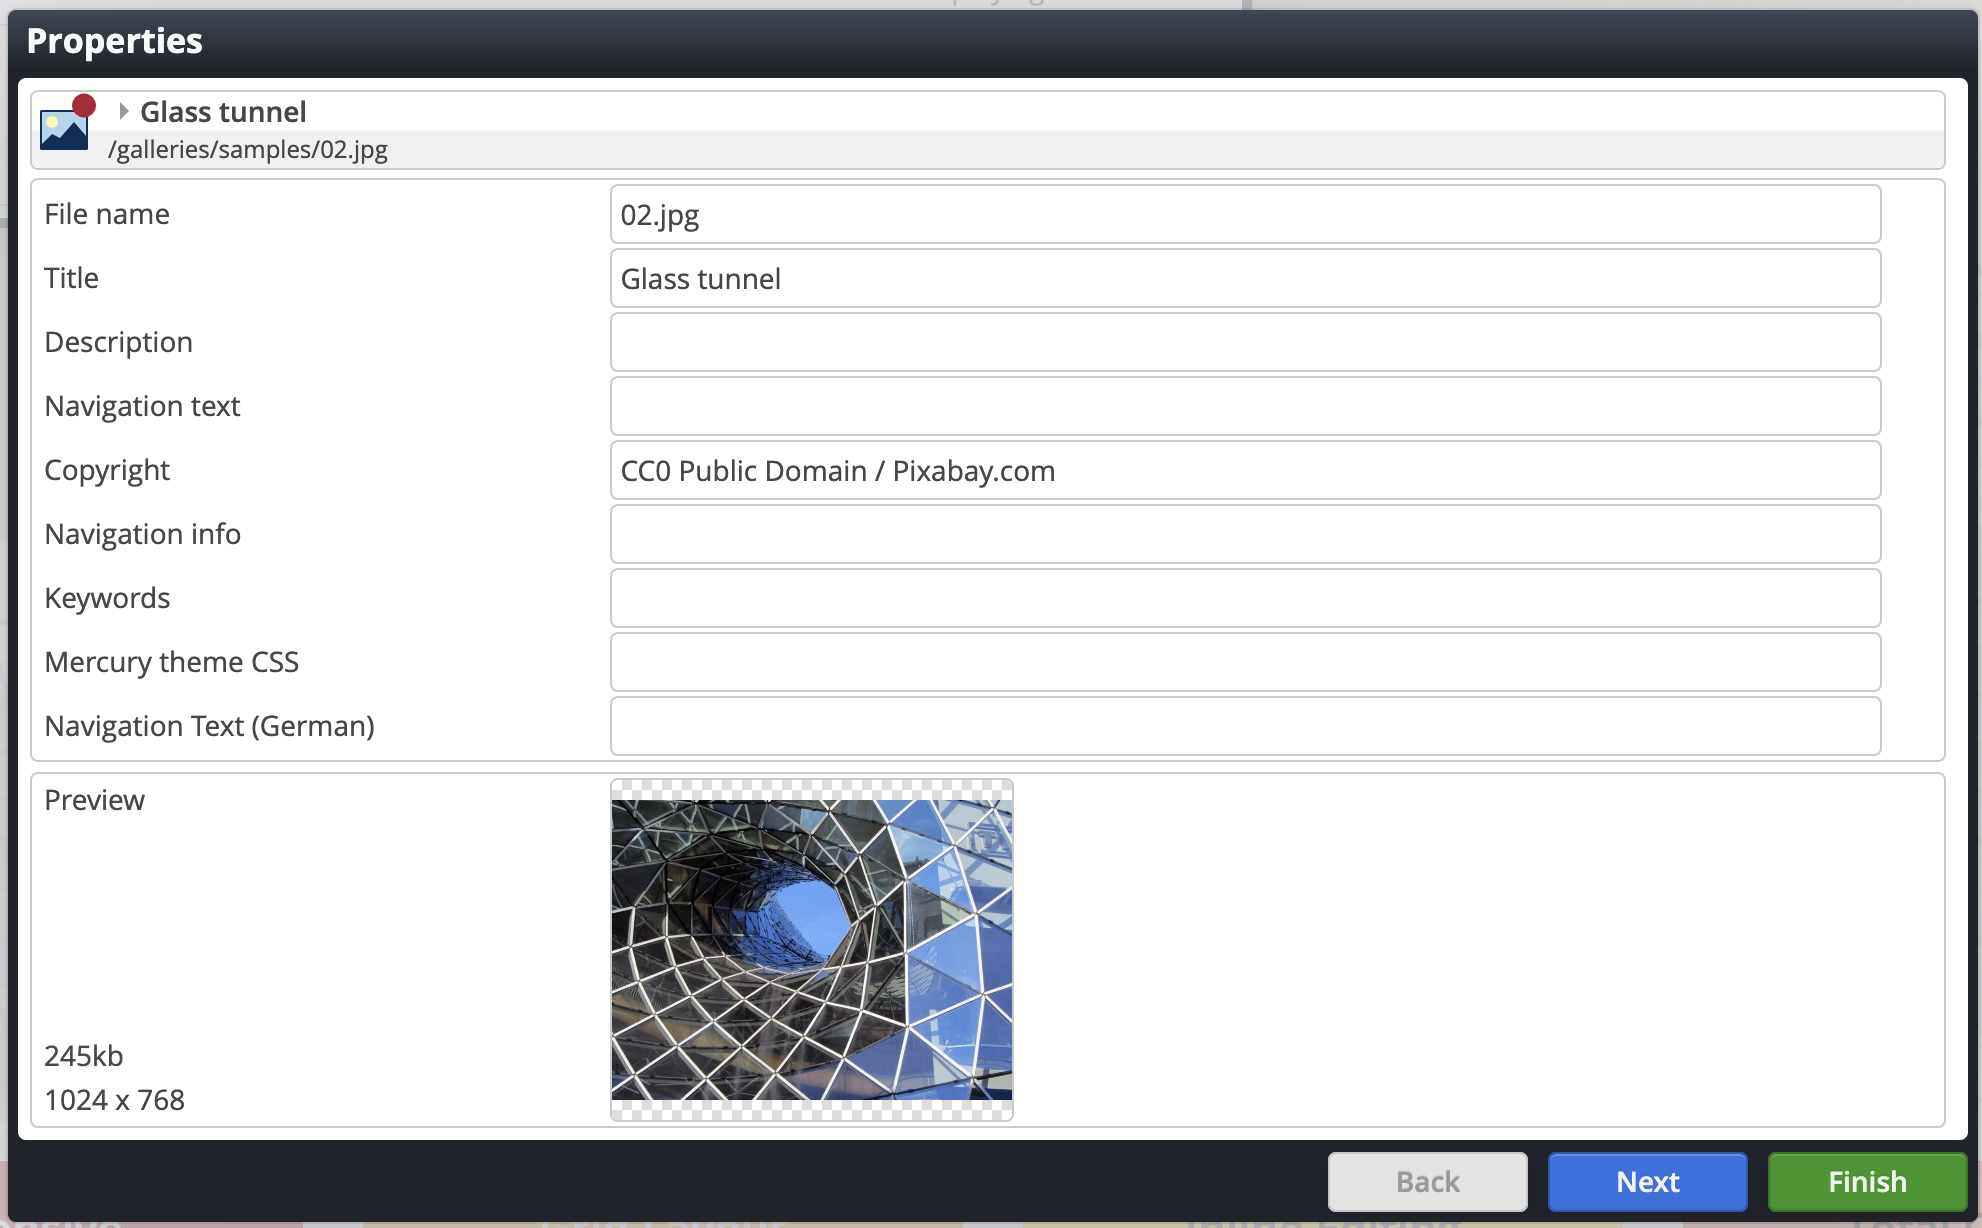
When all the files have been uploaded, a wizard appears with which you can move from file to file and back again.
Metadata such as title, description or copyright information can be entered here for each file in the wizard.
The file name can also be changed.
Especially for images, a preview appears at the bottom. This is particularly useful if a large number of images are uploaded at the same time and if the content of the images is not immediately apparent from the file name.
The specification of the metadata for all images is completed with the Finish button.
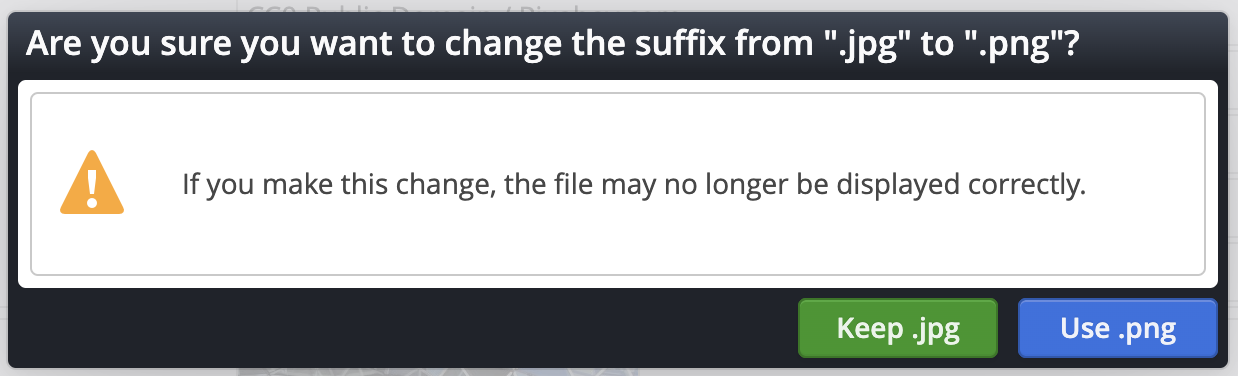
The metadata entered and the changed file names are validated directly.
If an incorrect file name is entered or if a metadata entry that has been declared as mandatory is missing, an error message is displayed.